The English Cottage Loaf
The English Cottage Loaf....an archetypal vintage classic English bread. It's formed from two cobs, one on top of the other; the top one being one-quarter the size of the lower cob.
Although it probably predates its first recording in history, there was no mention in writing of this style of the loaf until the mid-19th century. It's possible that it is this particular shape saves space on the oven floor. Social historians have recorded an oblong style produced in London called the 'cottage brick'.
You'll notice in the diagram below, Mrs Beeton (1863) always found that the top cob slipped to one side with a jaunty angle.
 It's fair to assume that it originated in the South of England. Until the start of the Second World War, it was amongst the most popular loaves bought by the housewife from the village and town bakeries.
 In her book, Recollections of Virginia Woolf', Louise Mayer (cook to Virginia Woolf), remarks that Woolf was an excellent baker and preferred the cold oven start to encourage the dough to rise as the heat increases. Cottage loaves were very much her signature bake.
 |
| Virginia Woolf baked on a 1920's cast iron gas stove known as 'The Florence'. |
Across the Channel, similar shapes can be found in the French brioche and the pain chapeau of Finistère.
You'll find plenty of recipes for a Cottage Loaf in most recipe books. Be careful, one very popular baker omits a second proof....it's necessary if you want to keep your bread light and airy.
Anyway, this is BreadClub20's recipe. We hope you like it.
INGREDIENTS
260 gms of tepid filtered water
500 gms of strong white bread flour
6 gms caster sugar
8 gms crushed sea salt
20 gms of olive or vegetable oil
1 teaspoon instant yeast
METHOD
If you're mixing by hand or using a stand mixer, add the oil and the salt to the flour and mix thoroughly. Then add the remainder of the dry ingredients (except the yeast). Slowly add the liquid, and then the yeast until you have a sticky mix. Turn the mix onto a floured board and knead until you have a silky and pliable dough. (There are Help videos and articles in the Useful Web and YouTube links on the left-hand side of this page). Place the dough in an oiled bowl and cover. Leave for an hour somewhere warm until the dough has doubled in size.
Now, let's move on.
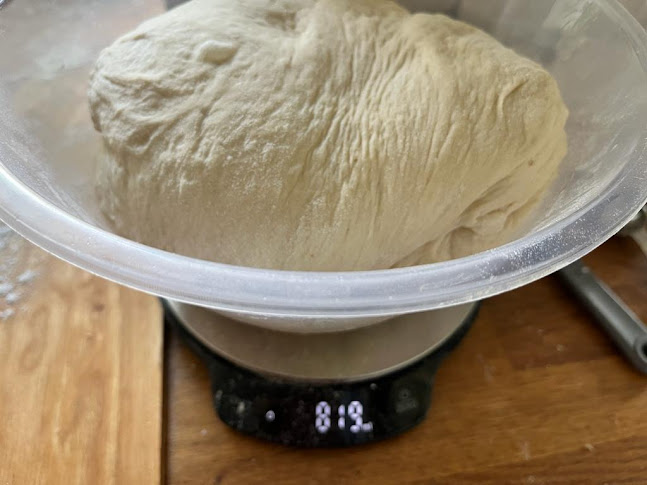
1. Tip the dough onto a scale and weigh it.
4. Drag the dough down the worktop to help create surface tension outside the dough.
5. Repeat the process with the smaller piece of dough.
6. Place the small dough on top of the large dough (in the centre) and flatten lightly.
7. Flour or oil the handle of a wooden spoon. Make a hole in the centre of the small boule and follow this down through both pieces until you reach the worktop. It will help bind the two together.
8. Cover and leave somewhere warm for about 45 - 60 minutes until it has doubled in size.
9. Preheat the oven to 190⁰C.
10. If necessary, define the hole again . Flour the loaf and then, with a sharp knife or razor, score down the sides from top to bottom all the way around both boules.
11. Bake at 180⁰C (fan) for 30 minutes until golden.
12. Remove from the oven and allow to cool on a rack.
.jpeg)


.jpeg)
.jpeg)

.jpeg)


Comments
Post a Comment