BreadClub20 is on Facebook. The recipes are available from here and from www.breadclub20.com. Happy Baking...
NB - Recipes remain the intellectual property of Jon Rosser. They cannot be reproduced in digital or written form without prior permission.
Welcome to another step-by-step recipe from BreadClub20. Why not drop by our main Facebook page by clicking here.... If you like what you see and enjoy the recipe, we hope you join us by 'Liking' and 'Subscribing'.
This is an exercise for new bakers...or those whose baking is limited to the recipes that exist within one or more of the books you regularly got to and that may well sit on a shelf somewhere in your home.
Our first instinct as new bakers is to go to the recipe book. But, once we start doing that, we gradually run the risk of being drawn into a cycle of dependence.
After a while, our repertoire becomes limited to what’s in that book, the next book, or the one after that.
We simply become slaves to the book…and may fail to develop as real, creative bakers.
Our baking becomes ‘flat pack’ rather than ‘craftsmanship’
Today, I'm going to show you how to build a basic formula. We're building it around key ingredients and key principles.
We start with flour
Let's not complicate it at this stage. Just go out and buy a bag of strong bread flour. Look at the protein level on the side of the packet. Choose one where the protein level is 12% or higher. That will ensure you have flour that will deliver a good gluten network. And gluten means good bread.
Then we need water
If you have chlorinated water, leave it to stand until the chlorine has dissipated. Alternatively, buy some supermarket own-brand cheap-and-cheerful bottled water.
We need some salt
Table salt, kosher salt, sea salt....just try and avoid the iodised cooking salt. Iodised salt can affect the taste of the bread.
And finally, some yeast
At this stage on your bread-baking journey, I'd recommend instant active yeast. It's dried. It doesn't need activating and it can simply be added to your ingredients.
Those are the four main ingredients that we need for bread. After that, any other additional ingredients are there for specific reasons.
We're going to add two today.
We're going to add fat.
Fat covers the gluten strands and makes the crumb and the crust moist and tender. It helps extend the shelf life of the bread.
We're going to add butter...but you can add oil or vegetable shortening if you wish.
And, very finally....we're adding sugar.
Sugar is hygroscopic....it holds water. Yes, it's sweet but the main function of it in bread is that it stops moisture from evaporating.
I'm baking TWO loaves. A traditional boule and a traditional English bloomer.
Both will be baked on baking sheets. Of course, you can also bake in loaf tins...just fill your tin to half way before the second proof and then bake them when the shoulders of the dough reach the top of the tin.
So, let's build a formula.
We start with 500 gms of bread flour. You can choose any bread flour. If you're choosing a really heavy flour (100% wholegrain/wholemeal or rye or spelt), then blend it with strong white bread flour to help it along. I suggest 200 gms of your heavy flour to 300 gms of strong white bread flour.
Then, I want somewhere between 67% and 75% of the weight of the flour as tepid water. If you're using strong white bread flour then 65% is fine. If your flour is heavyweight (wholegrain/wholemeal), 75% is better.
I now need 2% of salt. That's 10 gms of crushed sea salt for me. 1 level teaspoon is also a good measure,.
And finally, 1 teaspoon or 6 gms of instant active yeast.
Oh...hang on...I also want some fat and sugar.
Fat? I'm using 30 gms of unsalted butter. But you could use 2 tablespoons of olive or vegetable oil if you wished.
And sugar? I'm using one tablespoon of dark Muscovado sugar....but you could just as easily use 1 tablespoon of any sugar you have to hand. And that includes honey or molasses.
And so, we have our formula. You'll find out, over time, that most generic bread works around the same formula. It's even more basic when you start to explore sourdough.
And now we move to process.
Stage 1
Tip the flour and salt into a large bowl and mix.
Melt the butter and add that and the water. Then add the yeast.
Mix together using your hand or a stick until it's all clumped together.
Tip the dough out onto an unfloured board and knead until you have a soft, silky dough.
How do I knead and for how long?
As Patrick Ryan says "Most recipe books tell you to knead for 8 to 9 minutes. They're liars! It'll take about 14 minutes!'.
Anyway....here's how to knead...
If you're using a stand mixer...start on a slow setting. Switch to a medium setting and allow the machine to knead until the dough is formed and coming away from the sides of the bowl,
if you're using a bread machine...use an instant start programme (e.g. pizza) and stop the machine when the dough is formed and is coming away from the sides of the bowl.
Stage 2
Place the dough in a lightly-oiled bowl. Make sure that all the dough has a covering of the oil. Cover and place in a warm spot (roughly about 21⁰C - 24⁰C) for about an hour. It's ready when then dough has doubled in volume.
Watch the dough, not the clock!
Stage 3
Tip the dough out onto a lightly floured surface. Knock it back by flattening it with your hand and removing the air bubbles.
Now, we're going to shape the bread into a boule and a bloomer
Shaping a boule
Shaping a bloomer (the only bit of Paul Hollywood you'll ever see on BC20!)
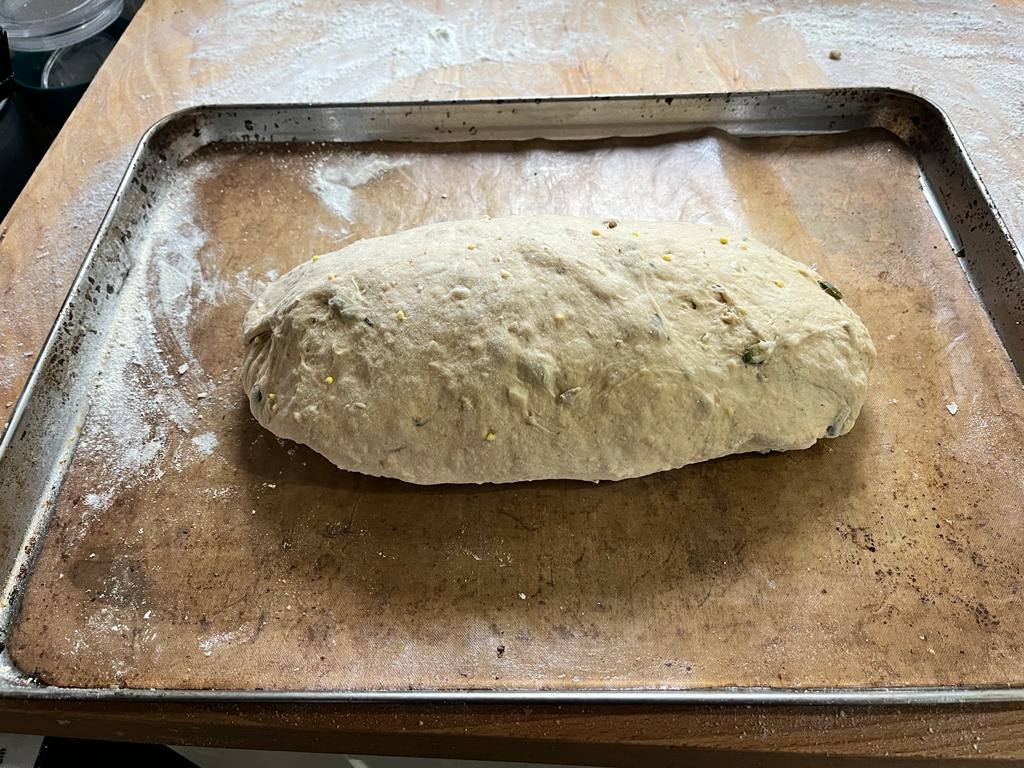
The Bloomer
The Boule
Stage 4
Place the dough onto a prepared baking sheet, cover with a light cloth and leave in a warm place until it has doubled.
Watch the dough, not the clock!
It may take an hour, it may take less.....it may take more....
Stage 5
Preheat the oven to 190⁰C.
Sprinkle a little flour over the surface of the dough.
Slash the boule along the top surface with a sharp blade. A cross is a traditional mark. The bloomer should be scored seven times along the surface of the dough. It's traditional. One slash for each day of the week.
if you wish, you can glaze it (a milk glaze is sufficient) and scatter seeds of your choice.
Mist the bread and the inside of the oven...just before you ad the bread and immediately after before you close the door.
Bake for 30 minutes or until the bread is golden and hollow when tapped on the bottom.
Cool on a rack.
And that's it.....a simple formula, a set of straightforward processes and two loaves that would grace any dining table.


.jpeg)
.jpeg)

.jpeg)
.jpeg)
.jpeg)


Comments
Post a Comment