Pan Cubano
Welcome to another step-by-step recipe from BreadClub20. Why not drop by our main Facebook page by clicking here.... If you like what you see and enjoy the recipe, we hope you go on to join us by 'Liking' and 'Subscribing'.
There are a few 'top league' breads in Cuban and Puerto Rican cuisine.
Pan Sobao or Pan de Manteca - semi-sweet, pillowy soft and chewy - due to the presence of melted lard within the dough. Ideal toasted with a café con leche.
Pan de agua - sometimes known as 'water bread' It's crusty and definitely looks to France for its inspiration.
And then there is Pan Cubano. Not so much an 'indigenous' bread but more one that is born out of the cultures of Cuban-American cuisine, with a cross-fertilisation from French and Italian baking.
Pan Cubano is distinctive in that the loaves are often up to a metre in length. I have to say right from the start that there's no way I can bake breadth at that length - not in my ovens. If you can, please go ahead and you have my respect!
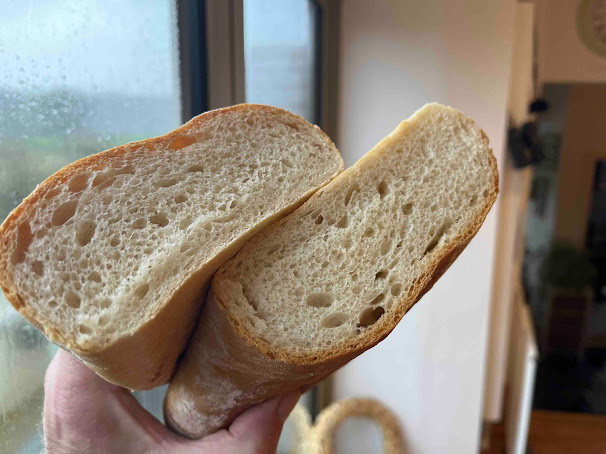
The key to a good Pan Cubano is the small amount of lard or vegetable shortening that is used as part of the baking. It produces a fluffy, light bread that actually lasts at least a day before becoming stale.
The 'home' for this style of Cuban bread is Miami and Tampa, Florida. It was probably first produced at the La Joven Francesca bakery in Ybor City, a thriving Cuban - Spanish - Italian community in Tampa. It was the home of Sicilian-born Francisco Ferlita who baked there in the 19th century.
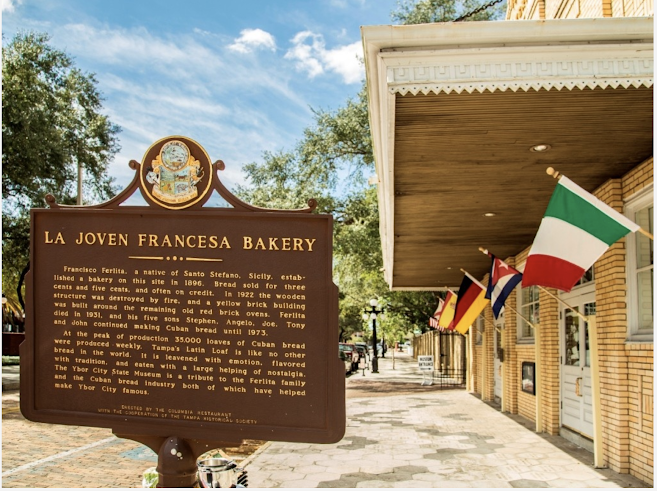
There's a lovely story attached to Pan Cubana. It cost between 3 - 5 cents a loaf. The householder would hammer a nail part way into the front door of their house and the bread delivery man would impale the loaf on it by way of delivery - every morning, just before dawn!
Despite a devastating fire, a rebuild and the passage of time, the bakery eventually closed in 1973 and is now the Ybor City State Museum.
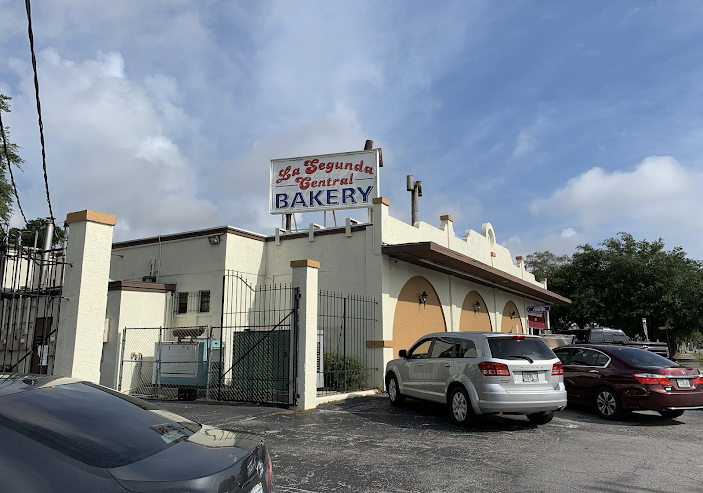
Today, the Segunda Bakery in Tampa is the main producer and distributor of Pan Cubano and distributes it in Tampa and throughout Florida.
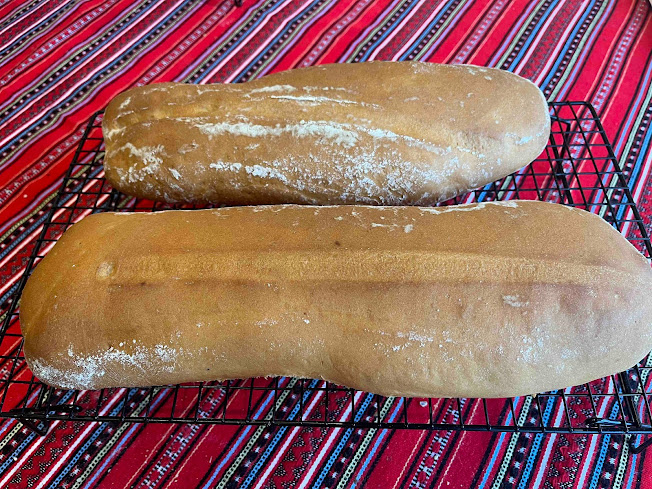
The Pan Cubano is often over a metre long and slightly wide than a baguette. They stretched the dough, literally to make it longer and so that it went further - bread wasn't sold by weight at the time. It also led to it having a crisp, almost feathery crust - the effect of adding shortening - so giving a soft flakey centre.
Strangely, prior to baking, instead of slashing the dough, as you would with a European bread, the bakers laid a palmetto frond down the centre of the loaf and bake it with it in place. This produces a natural trench in the crust.
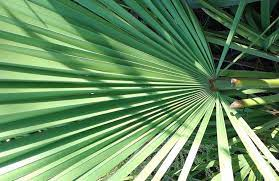
If you can't find a palmetto frond, a BBQ metal skewer works just as well.
INGREDIENTS
470 gms strong bread flour
295 gms of tepid filtered water
8 gms sugar (as 'dark' as you can find)
10 gms crushed sea salt
55 gms vegetable shortening
7 gms instant active yeast
METHOD
1. Add the flour to a large bowl.
2.Only just melt the shortening - in a microwave or on the stove...but don't let it get hot.
3. Add the shortening to the water, the salt and the sugar. Mix until thoroughly incorporated.
4. Add half the flour to the mix and stir. Then add the yeast and stir. Finally, add the remainder of the flour and mix until you have a fully incorporated and sticky dough.
5. Tip the dough out onto a board that has been misted with water and start to knead.
If you're using a stand mixer for this, move from slow speed to medium and mix for about 6 - 8 minutes (you'll know your own mixer better than I do). If you're using a bread machine, use an instant start programme (e.g. Pizza), stop the machine and take out the dough when it has formed.
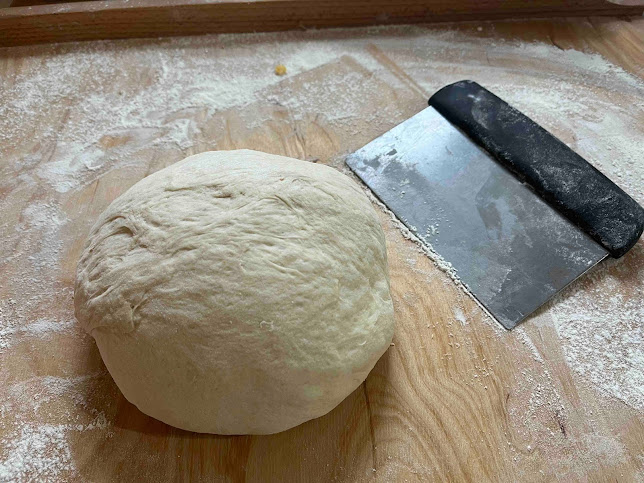
6. Lightly oil a large bowl and shape the dough into a ball. Roll it around in the bowl, so that it picks up a think coating of oil. Cover and leave at room temperature for 1 - 1½ hrs until it has doubled in size. If you have a particularly cool kitchen, try to find warmer spot in your home.
7. Prepare a large baking sheet with parchment paper, rice flour or silicone sheet.
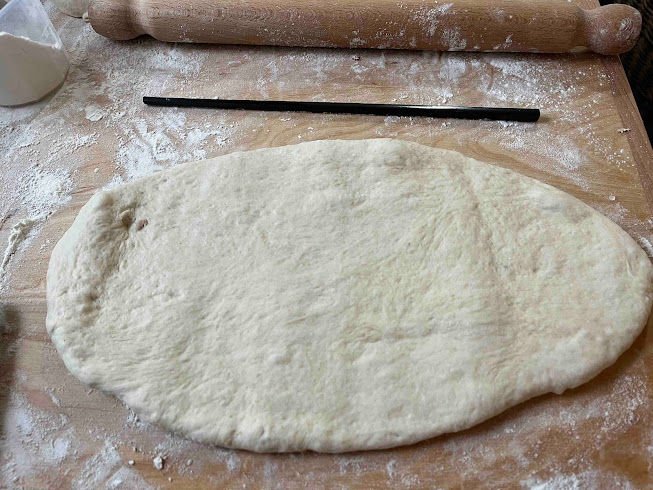
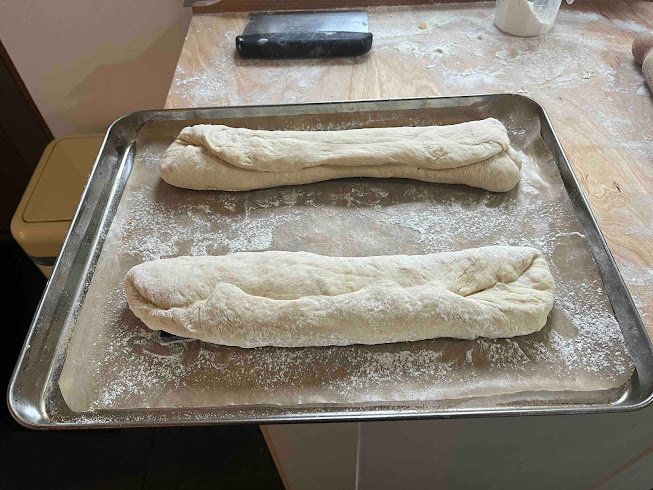
8. When the dough has risen, tip it out onto a lightly-floured surface and knock it back. Shape it into a rectangle and then roll it from the long side, pinching the seam at the end and underneath. Try to make it as long as you can - given the length of your baking sheet and width of oven. Anything beyond 18 inches is ideal.
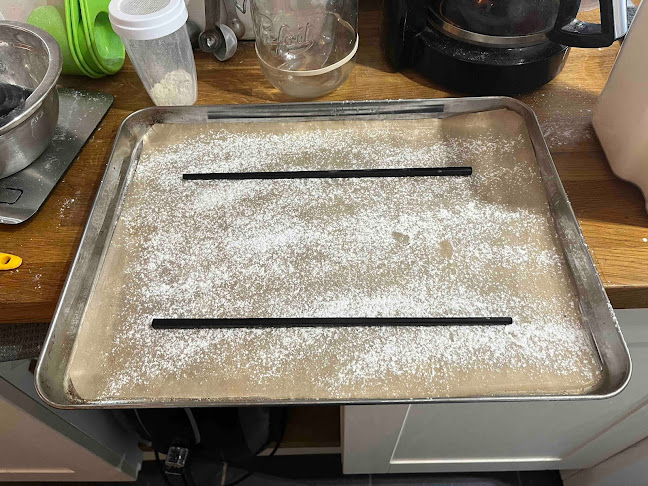
9. If you're lucky to have palmetto fronds handy (and they've not recently been sprayed for bugs) - prepare them by washing them in hot water. Or, alternatively, use a BBQ skewer or even a piece of string. Lay the frond / skewer / string down on the baking sheet and place the dough roll on top of it so that it runs down the middle of the loaf.
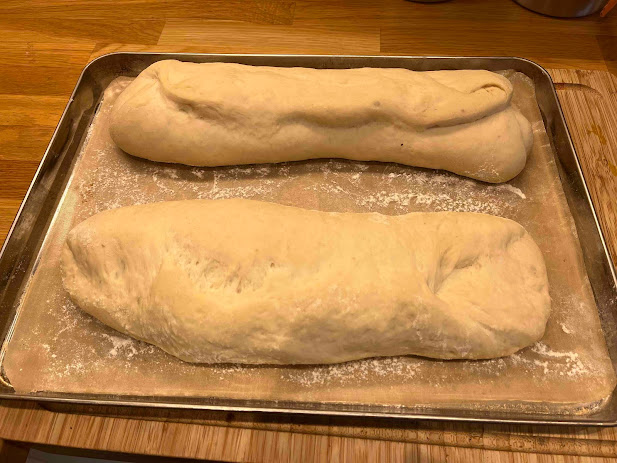
10. Cover and let the dough poof for a further hour or so until it has doubled in size. It's ready when the dough springs back when you prod it gently.
11. Preheat your oven to 200⁰C and place a small container at the bottom so that you can apply a little steam. Fill the container with water and allow the oven to come to heat.
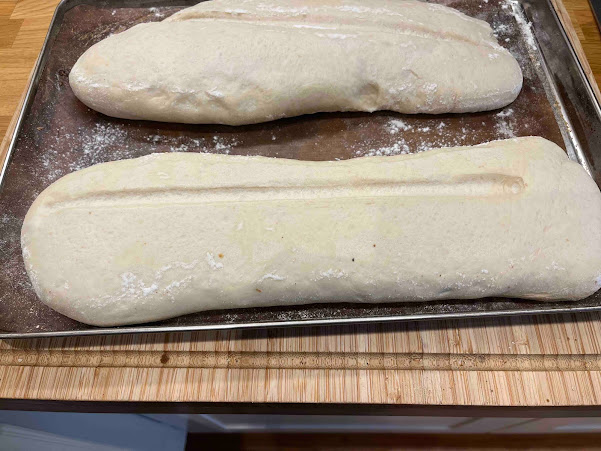
12. Gently flip the bread over so that the front / skewer / string is on the top. If it deflates slightly, don't worry - but be as careful as you can. Bake for 25 minutes or until golden brown. For the last five minutes, remove the source of the steam.
13. Remove from the oven. Place on a cooling rack and allow the bread to cool for at least an hour before serving
 |
Happy baking


The next time I read a blog, I hope that it doesn't disappoint me as much as this one. I mean, I know it was my choice to read, but I actually thought you have something interesting to say. All I hear is a bunch of whining about something that you could fix if you werent too busy looking for attention. Alaska Airlines Flight Change Policy
ReplyDelete