Country Open Bread

Welcome to another step-by-step recipe from BreadClub20. Why not drop by our main Facebook page by clicking here.... If you like what you see and enjoy the recipe, we hope you go on to join us by 'Liking' and 'Subscribing'.
This is a formula and a process that delivers an artisan rustic white loaf that's light and airy.
The downside is that it's a little more time-consuming than usual. It only requires a few minutes of manual work, but it does require rather more time - so it needs to be planned for against your routine and your schedule.
A note about the ingredients.
Flour : you can make this with a strong bread flour or an all-purpose flour that has a reasonably high protein level i.e. about 10%.
In the UK, all-purpose is usually referred to as plain flour. be careful - some plain flours are barely 9%. If this is the case - mix plain and strong white bread flour together 50:50.


INGREDIENTS

For the biga (or preferment or starter)
320 gms of all-purpose or strong bread flour or a mixture of both (see above)
224 gms tepid water
0.1g of instant active yeast (or 1/12th of a teaspoon - or two usual size pinches)
For the dough
80 gms of the same flour you used for the biga
56 gms tepid water
7 gms crushed sea salt
0.8 gms instant active yeast (of ¼ teaspoon)
METHOD
The Day Before - Making the biga
1. Add the 224 gms of water to a large bowl and add the 0.1gm of yeast. Stir.
2. Add the 320 gms flour and mix throughly.
3. Make sure all the water and the flour have combined. Cover the bowl and leave at room temperature overnight.
Ideally, in a cool kitchen this will be for 14 - 16 hours. In a warmer kitchen between 10 - 12 hours.


1. In a smaller bowl than you used yesterday, mix the water, yeast and flour together until you have a sticky dough. Stretch it out as well as you can.
2. Sprinkle the salt over the biga and then top the biga with the dough you have just mixed.
.jpeg)
3. Incorporate the dough and the salt thoroughly into the biga until everything has been combined.
.jpeg)
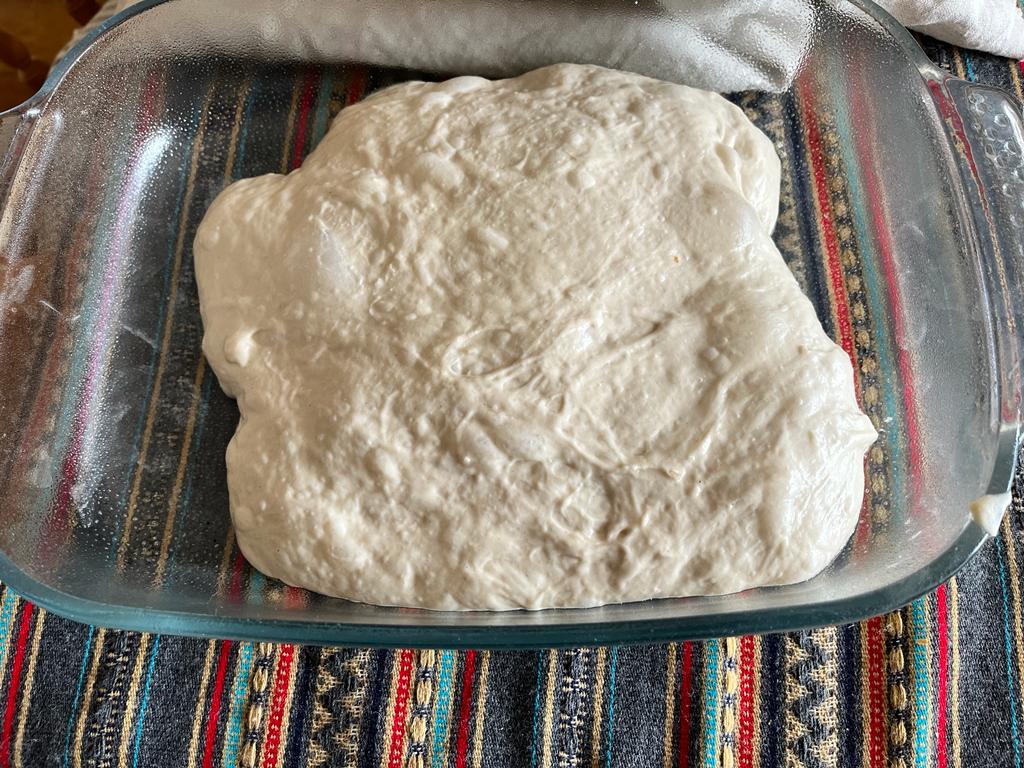
4. Cover and leave for 45 minutes or until it has proofed to look like this:
5. Stretch and fold the dough making sure all sides have had the same degree of stretching.
6. Re-cover and leave for 45 minutes.
7. Repeat steps 5 and 6.
8. Tip the dough out onto a misted work surface.
9. Stretch the dough out into a large rectangle and then we're going to laminate the dough by bringing the left side over ⅔ of the way. Bring the right hand side over to complete the 'letter'. Now, bring the bottom up ⅔ of the way and then the top to form a neat parcel.
10.Place the parcel in an oiled dish. Cover and leave to continue to rise for 30 minutes.
12. Shape the dough so that it will accommodate your prepared banneton or proofing basket. Don't forget to flour your basket thoroughly. It will help to draw the dough down the worktop towards you to help develop surface tension. Try not to be rough - there's a lot of air in the dough that we need to retain.

13. Place the dough in the banneton, cover and leave to proof for a further 50 minutes (warm kitchen) or 60 minutes (cool kitchen).

14. Preheat a Dutch Oven / enamel roaster / Pyrex casserole to 240⁰C
15. Gently tip the loaf out onto parchment paper or a silicone sling and slash as desired.
16. Place the loaf in the hot baking pot and return to the oven. Bake at 240⁰C for 18 minutes with the lid in place and then for a further 8 - 12 minutes at 230⁰C with the lid removed.
17. Cool on a baking rack
.jpeg)

Happy baking....


Comments
Post a Comment