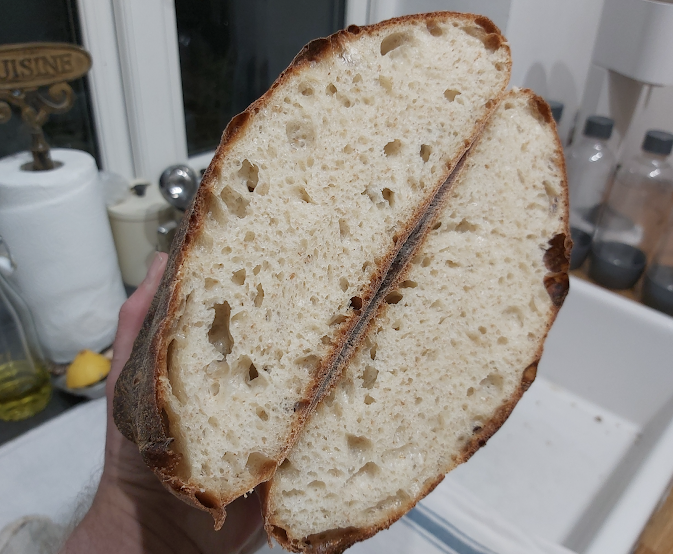
Rustic Artisan Loaf - using a Poolish

2021 : World Bread Awards : Winner - Wales
Welcome to another step-by-step recipe from BreadClub20. Why not drop by our main Facebook page by clicking here.... If you like what you see and enjoy the recipe, we hope you go on to join us by 'Liking' and 'Subscribing'.
There will be those who are reading this who are thinking, 'That looks nice, I think I'l bake that'.
There will be others who will be saying, 'Seems like a straightforward recipe....I'll try it!'
And there will be those who will declare, 'What on Earth is a poolish?'
Let's start with you, then.
A poolish is a pre-ferment. It's one of a group of pre-ferments which are all variations on a theme. They include: a sourdough starter, a sponge, a biga, tangzhong and yudane. It's anything that is added with the intention of helping the dough to start generating a gluten network and turn a sticky flour and water mix into what will eventually become a loaf of bread.
A poolish is a mixture of flour and water with the addition of a tiny amount of yeast. It is left to ferment and becomes what we might call a 'mother dough'. A poolish or pouliche was first used by Polish bakers around 1840 and the method was taken to France in the 1920s. Interestingly, the French word for Polish is polonais, whereas, the Old English version for Polish is poolish. In French, a pouliche is a filly, or young horse. So, 'you takes your money and you makes your choice', as they used to say.
Today, we're going to make a fairly straightforward rustic Artisan loaf but we're going to start the process by making a very easy poolish the day before.
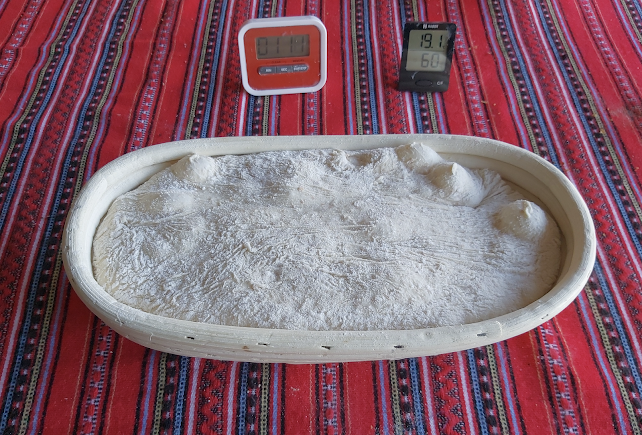
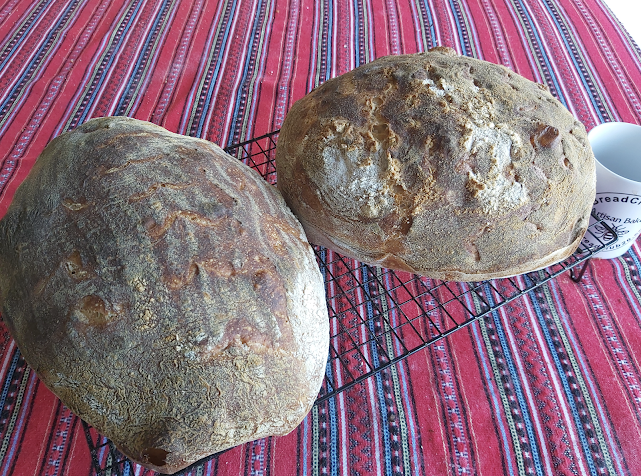
NB. You'll see below that I'm making this bread two ways. One free hand, (round loaf) kneading and folding by hand as usual and the second (oval loaf) by using a Basic Dough (2hrs 20 mins) programme in a bread maker...then extracting the dough and finishing by hand. Let's see if there's a difference in rise.
Timing:
To make the poolish - 5 minutes
Mix and Kneading - 2 minutes
Resting, stretching, folding, - 120 mins
Shaping, resting - 60 minutes
Baking - 50 minutes
Total time : 4 hours.
MAKE YOUR POOLISH
150 gms filtered water at room temperature
150 gms all-purpose or plain flour
⅛ teaspoon instant yeast
Cover with a saucer or cling film and leave on the kitchen work top for at least 8 hours and preferably up to 24 hours.
What does a poolish bring to the party?
It helps to produce a more resilient crust. It extends the shelf-life of the loaf. It adds more flavour.
The longer you leave your poolish to develop, the more flavour it will impart to your bake.
Minimum time : 6 hours. Maximum time : 24 hours.
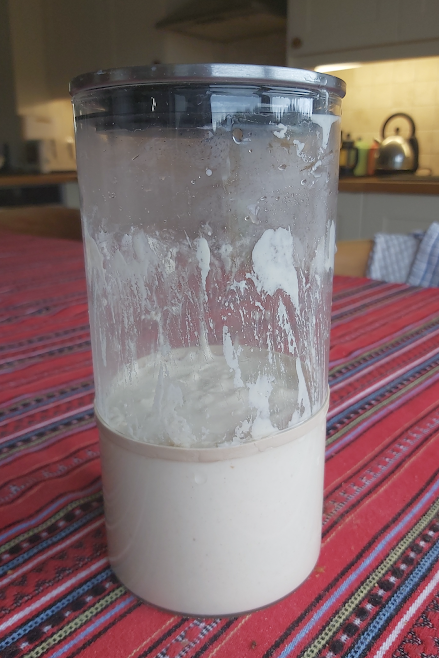 |
| At the start |
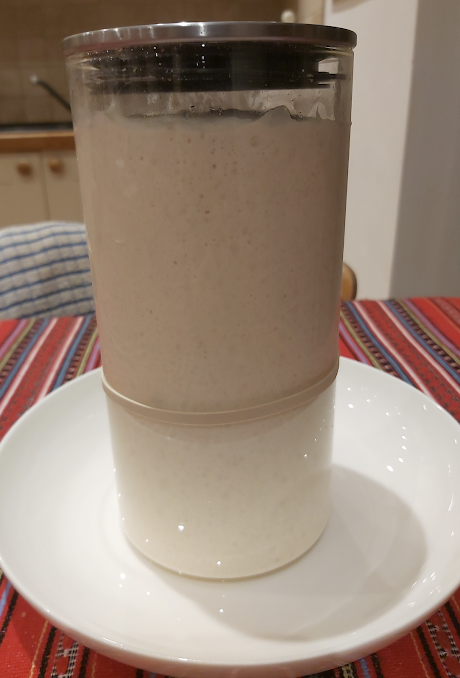 |
| 16 hours later |
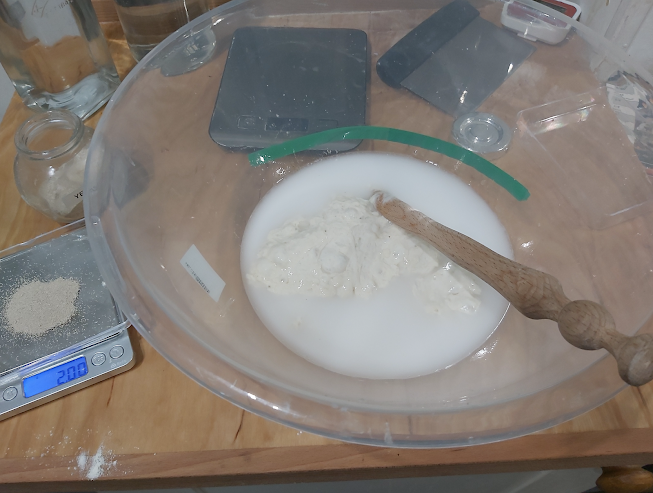
Step 1
Into a large bowl, add
280 gms filtered tepid water
All the poolish from our mix above
2 gms instant yeast
Stir together so that everything is combined.
Now add
350 gms strong white bread flour
50 gms of wholemeal or whole what flour
10 gms sea salt.
Stir everything until well incorporated. It's going to be sticky, so use the handle of a wooden spoon, or a spirtle or something similar.
Step 2
Now, wet your hands and work the dough. Use a 'squeeze.....rotate the bowl......and repeat'. This will save you having to buy a professional bred mixer....do this for approximately 2 minutes.
Now cover the bowl with a shower cap or cling film and leave on the worktop in a reasonably warm kitchen for 30 minutes.
What's reasonably warm? About 21⁰C - 24⁰C
Step 3
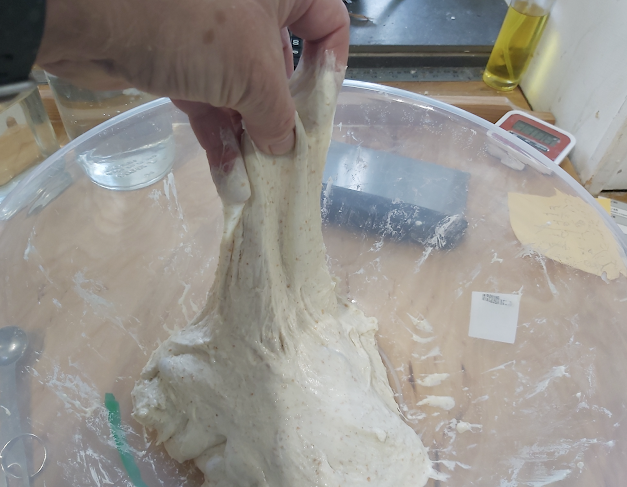
Now, wet your hands again and start to stretch and fold. Scoop the dough from underneath, pull it upwards and drop it back over itself. Turn the bowl 90⁰ and repeat. Keep turning and repeating for abut a dozen times.
Now work it in a 'slap and fold' manner. Scoop the dough from underneath. Lift it up and then drop it back into the bowl. Turn the bowl and repeat. Gradually, the dough will come together into a taut, round ball. It shouldn't need more than half a dozen slap and folds.
Re-cover and leave for a further 30 minutes
Step 4
Repeat Step 3 - both in terms of stretch and folds and also slap and folds.
Step 5
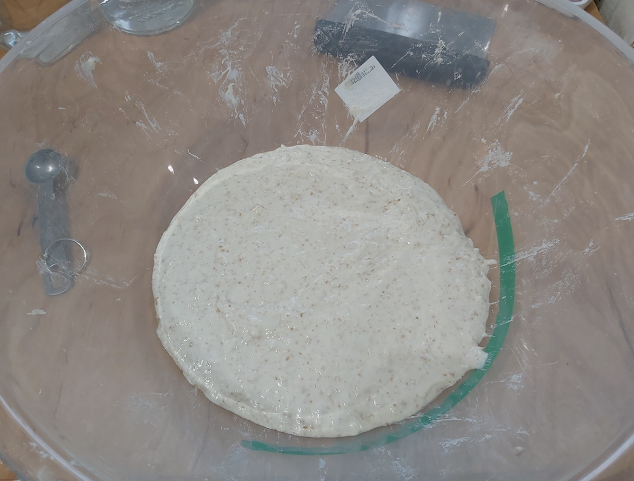
By now, you dough will have risen and be slightly domed on the top. Watch the dough, not the clock. If it needs a little more time to look bubbly, smell yeasty and wobble a bit....leave it another few minutes,
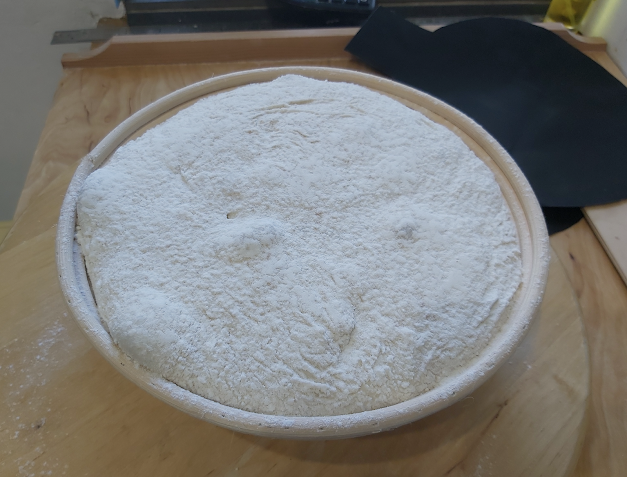
Tip the dough out onto a well-floured worktop.
Generously flour a banneton or, if you don't have a banneton, a bowl lined with a floured tea towel.
Bring the edges of the dough to the middle. Keep bringing the edges in to the middle in a criss-cross tuck fashion until you have a fairly tight boule.
Flip the boule over and start to tighten the surface of the loaf by using your hands to shape the boule into a nice round ball and carefully drag it towards you across the surface to build up surface tension on the skin of the loaf.
Place the loaf, seam side up, into a 9 inch banneton or into your well-floured lined bowl.
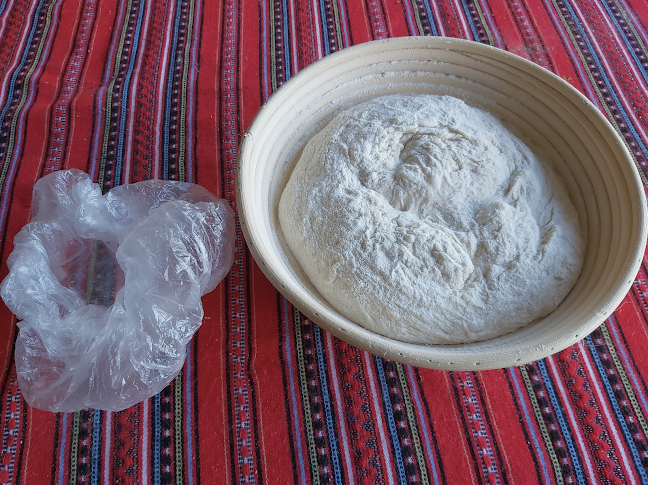
Leave on the worktop covered for 30 - 50 minutes. Watch the dough not the clock. When you gently press the dough using the point of your finger and the indentation starts to recover gently.....the dough is ready.
Step 6
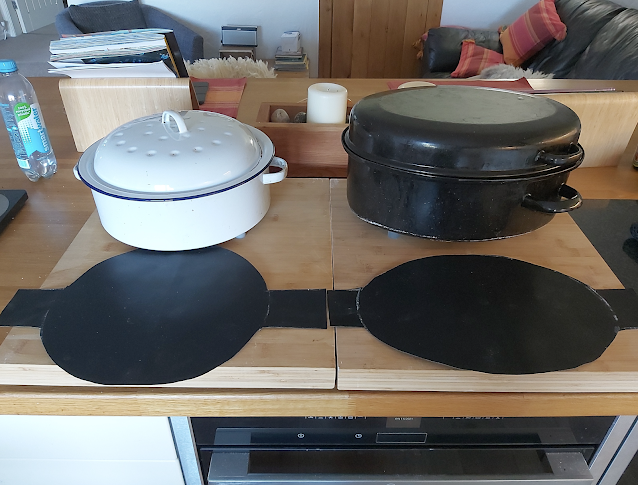
Preheat a Dutch oven, Pyrex lidded casserole or enamelled roaster to 240⁰C.
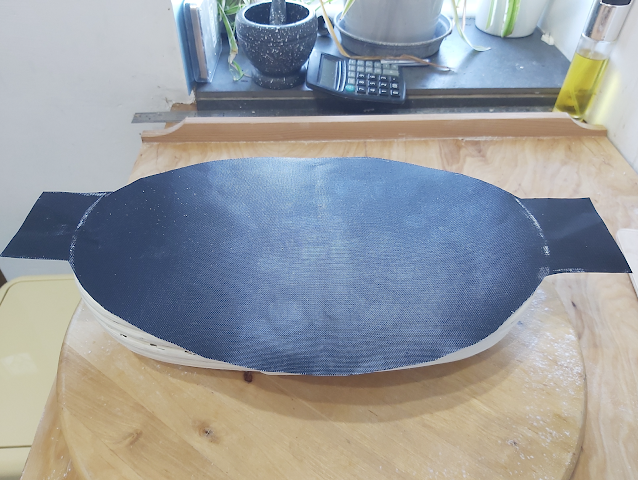
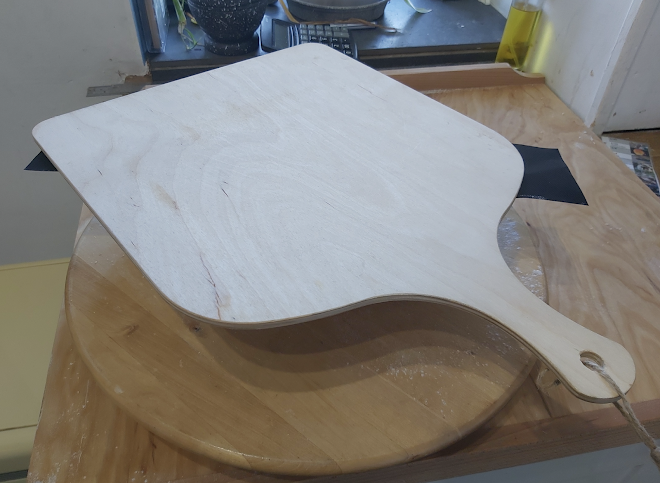
I'm using two enamelled roasters. One is a 26 cm diameter round roaster and the other is a 35 cm x 25 cm oval roaster. The bread slings are cut from a sheet of black Teflon-coated oven liner / BBQ grill sheet.
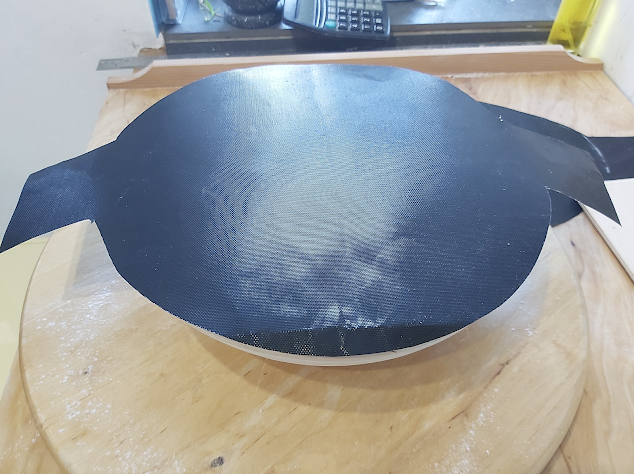
Scoring is difficult with a hot pot - if you don't want to get too close, try cutting the top of the dough with scissors. You'll be surprised how rustic the final loaf will look.
Give the dough and the pot a quick mist with water.
Replace the lid and transfer to the oven and bake for 18 minutes.
Remove the lid, drop the temperature to 230⁰C and continue to bake for 25 - 30 minutes.
Don't be afraid of baking your loaf until it is golden to dark in colour. The caramelisation of the crust only happens then the crust is dark and this takes time.
Step 7
Place on a cooling rack and allow to cool before cutting and eating.
Happy baking....


Comments
Post a Comment