Welcome to another step-by-step recipe from BreadClub20. Why not drop by our main Facebook page by clicking here.... If you like what you see and enjoy the recipe, we hope you join us by 'Liking' and 'Subscribing'.
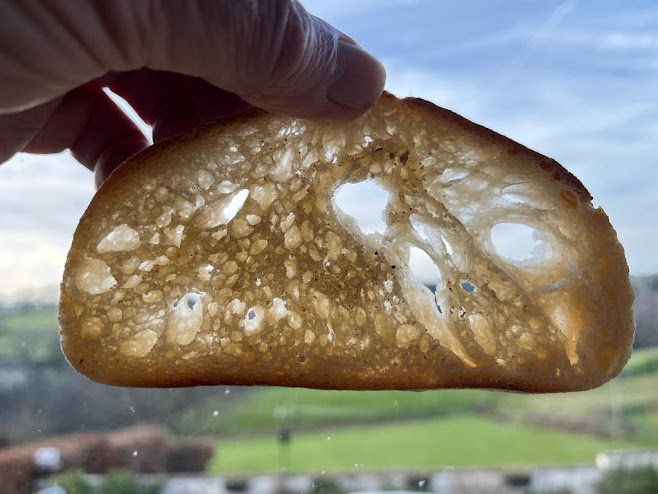
Today, we're going to build a sourdough with a fine open crumb. For this we need two things:
1. A very fine flour with reasonably high protein content, and
2. A high hydration.
We talk about sourdough being easy to handle at 60%, 65% and so on. But, today, I'm going to try and prove that we can also handle sourdough that is hydrated to 85% - 90% without being afraid of it - and manage some excellent results.
But first, a word about the ingredients and the equipment.
Flour - Ideally, you want a highly-refined flour - one where most of the bran and the germ have been milled away. This is usually very fine flour. All-purpose / pizza / Type 0 or type 00 flour. However, it should also have a medium protein content at about 8- 12%. You will need to check the information on the side of the bag.
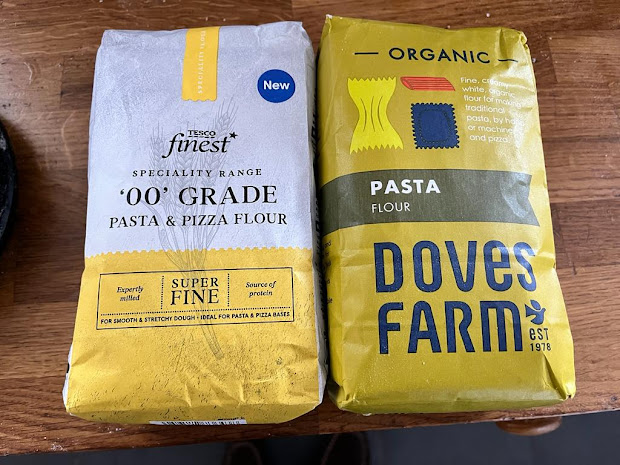 |
| I settled for the one on the left. The one on the right really wasn't all that great! |
Water - Use filtered or, if not, supermarket own-brand still water.
Salt - finely ground sea salt
Starter - active starter that is time-served and robust. It's got a lot of work to do.
Ok. Let's make a start.
Read the whole set of instructions carefully. Make notes before you start.
We're working in an ambient room temperature of between 21⁰C and 24⁰C
The key at all stages is to handle the dough as gently as possible.
Formula
700 gms of highly-refined flour (protein level 8% - 12%)
540 gms of filtered water (tepid)
14 gms crushed sea salt
140 gms active starter
Process
The key at all stages is to handle the dough as gently as possible and wet your hands before handling.
Place the flour and the salt in a large mixing bowl
Add the starter and the water and mix thoroughly. Scrape the sides of the bowl.
Cover and leave in a warm place for 60 minutes.
Now, stretch and fold the dough three times at thirty-minute intervals.
If you prefer, you can use my 'gravity drop' method....
At the end of the third cycle, you should be building up good gluten.
Now. transfer the dough to a straight-sided vessel. Mark the level of the dough and also mark where it should come to after it's risen by 80%. With both marks visible, cover the vessel and place it somewhere warm to ferment.
Watch the dough - not the clock. It will take anywhere between 2hrs and 4hrs. Keep a close eye on things.
After three hours, we're here...50% increase by volume
Now, very gently, tip the dough out onto a well-prepared work surface. Rice flour is your friend..remember that.
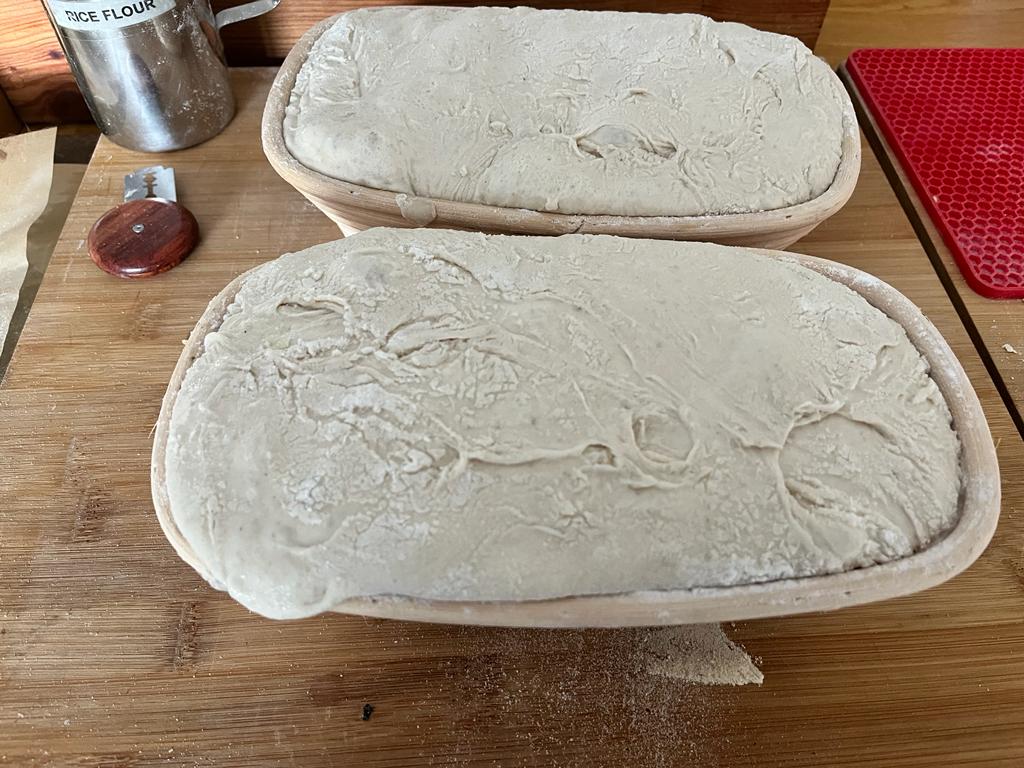
Divide the dough into two. Try to handle the dough as little as possible. Place each portion,shaped very carefully, into a banneton.
Place the bannetons in plastic bags and into the refrigerator for anywhere between 12 - 48 hours. Put them on the bottom shelf...it's colder down there. Remember, many fridges are set at 5⁰C...try to find a spot a little colder than that.
After you've completed cold proofing..preheat your oven to 240⁰C. If you're baking in a Dutch Oven or equivalent, preheat that as well. If you're baking on a steel, a sheet or a stone, preheat those but also add a tray of water to generate steam.
Turn the dough out onto a piece of parchment paper and peel. Score the dough and add to the Dutch Oven or sheet/steel/stone.
Place the dough in the oven and then immediately drop the heat to 230⁰C and bake for 30 minutes with the lid in place. Then remove the lid and bake until it's golden brown and hollow when tapped underneath. This should take about 15 - 20 minutes. Internal temperature of the loaf should be in the region of 98⁰C
Cool on a rack.
Happy Baking

.jpeg)


.jpeg)


.jpeg)


Comments
Post a Comment